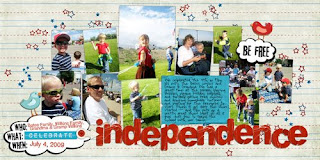
As I was creating this layout, I found myself recoloring things here and there so they would match just perfectly. In fact, I do this all the time! So I thought I would use this as an example of just how easy it is to do this, and how versatile it makes any digital paper or embellishment.
First I chose this alpha (from the "Enjoy the Journey" kit at scrapmatters.com). Once I got it opened I realized it was a bit too orange-y:
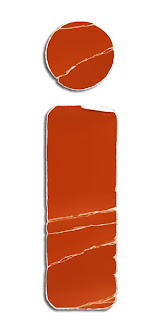
(before)
So, working on my my alphabet layer, I from the drop down menus at the top of my screen, I just selected Enhance>Adjust Color>Adjust Hue/Saturation. In the new window there are three things you can adjust, Hue, Saturation, and Lightness. For this one I just bumped Hue slider a bit to the left until I got the results I wanted, then hit OK to make the change permanent. Easy!
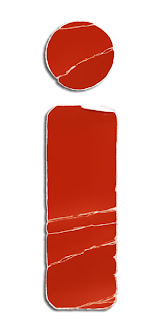
(after)
Next I adjusted the color of this bird - just slightly - because I thought it looked a little too pink.
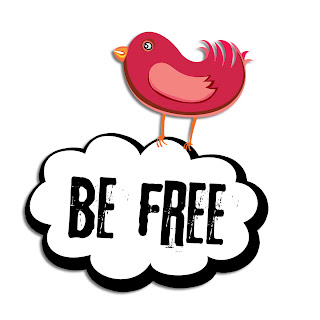
(before)
This one was a bit trickier because I ONLY wanted the pink parts of the bird to change. To select just those parts I use my Magic Wand Tool. This should be in your tool box (on the left of your workspace) in Photoshop Elements and it looks, well, like a magic wand! ;) Your little arrow will turn into a magic wand icon and you can click on any area and it will automatically select the whole area that is like the little spot you clicked on. So, for example, with this bird I clicked on the wing and it only selected the wing that was lighter pink. The tiny part on the edge of the wing wasn't included in my first selection, but when I clicked on that part, it added to the selection. So I just kept clicking on all the areas I wanted recolored until it was all selected. (You can tell what is selected because it's outlined with "marching ants".) Then I go Enhance>Adjust Color>Adjust Hue/Saturation. For this one I just bumbed my hue up a little bit!

(after)
This next one I did with some help from the Magic Wand tool as well. I decided I wanted the blue button to be red. (This little element is from the "April Morning" freebie at Peppermint Creative).
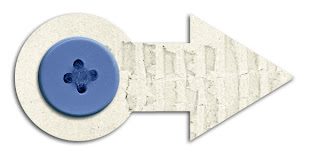
(before)
So I just clicked all over my button with my Magic Wand until it was all selected. Then, as before, Enhance>Adjust>Adjust Hue/Saturation. This time, since the color change was more drastice, I played with all three options. I moved the Hue quite a bit, bumped up the Saturation, and slid the Lightness slider down just a bit. Sometimes it takes a while, but just experiment with the sliders and you can usually get the color you are looking for! Once you do, just click OK. :)
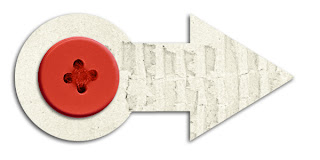
Just another trick that makes digital scrapbook so VERSATILE! Seriously, you could make almost any element from any kit fit into your color scheme. Or, you could be picky like me and just adjust things a teeny tiny bit so they match just perfectly~ ! Let me know if you have any questions!
xoxo,


1 comment:
I feel like I say this every time, but I LOVE these pages. So cute! You have the best scrapping style!
and thanks for the coloring tips!
Post a Comment