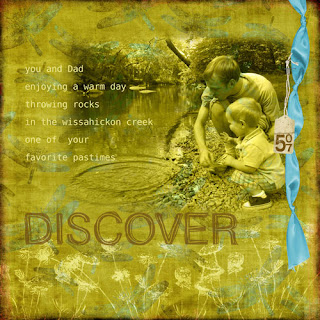
It was super easy and I love how it turned out. Here's how:
1. Open you paper and photo, and drag your photo onto your paper.
2. At the top of your layers palette, there is a drop down menu that should say "normal". Pull the menu up and change it to "luminosity".
3. Select your eraser tool. In the options bar (at the top of the screen) you should see a pull down menu where you can select a brush. A fuzzy brush works best for this. Also, I reduced the opacity to about 75%.
4. Once you've selected your eraser brush, size and opacity, just start erasing around the edges to give it the blended look. Voila!
{paper & tag by Corina Nielson, knotted ribbon by Michelle Coleman, date stamp from Digital Scrapbook Memories "Moods" CD, "Father Nelson" & "Lucida Console" fonts}

2 comments:
Wow Lynnette! This is pretty amazing...thanks for sharing it and sharing how to do it!
What a fun challenge!
wow! that picture is amazing! good work. feel free to share these on the website too. the family would love them
Post a Comment